Working With Your Repo
Purpose
While some developers prefer to use git purely from the command line, others
enjoy using the interface built in to their IDE. This is purely a
preference-based decision. In this section, we’ll demonstrate how do work
through some common git operations using both the command line, and how do to
the equivalent operation using the Source Control tab on VSCode and Anubis. Note that most of these features are provided by the GitLens plugin for VSCode and Anubis.
There is far, far more to git than could be productively covered here. It is
highly recommended that you seek guidance from
the Git Book for a complete discussion of both
basic and advanced operations.
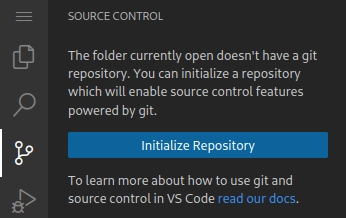
Initializing a Repository
Inside a new empty folder, you can create a new git repo using the command:
git init
This is equivalent to using the “Initialize Repository” button in the Source Control tab:
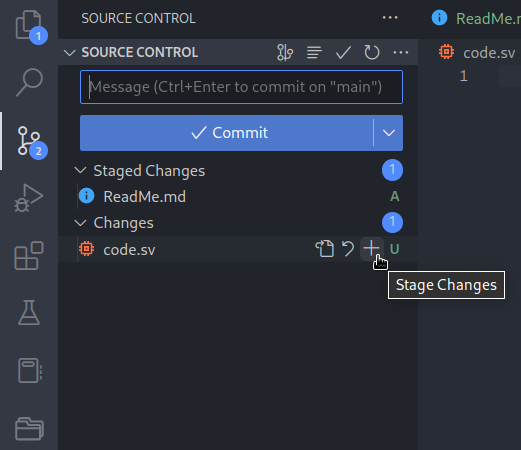
Staging Files
When a new file is added to the project, or changes are made to a file, you can
inform git about those changes with the command:
git add [file_or_folder_names]
This command adds the files to “staging”, which is what we call the set of file changes that we’re going permanently track in the repository.
A common pattern is to use:
git add .
Where the . is a Unix filesystem convention for refering to the current
folder. This command tells git to add all files that have been added or
changed to “staging”.
The equivalent in the Source Control tab is to use the plus and minus signs to move files in and out of “staging”:
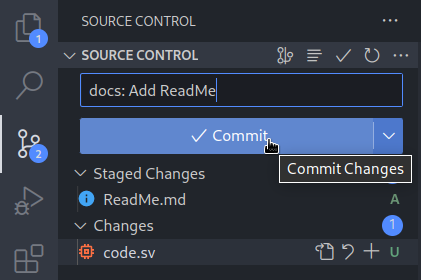
Making a Commit
To make the collection of changes in staging permanent, we make a commit. Every commit is accompanied by a message. You are encouraged, by not required, to follow the conventional commits guidelines for what to write in this message. The czar of a given repo may require this or some other commit message format if you eventually want them to incorporate your changes “upstream”.
The commands to make a commit message depend on how long your message is, commits with short messages can be made with the following:
git commit -m "docs(example): This is a commit message"
If a longer message is needed, the same command without the -m can be used:
git commit
git will open an editor to be filled with the commit message, when the file
is saved and the editor is exited, git will open that file and read the
commit message.
The equivalent in the Source Control tab is the commit box:
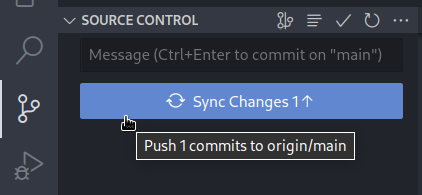
Pushing Changes
Once changes have been made to a local repo, they can be pushed to tracked remotes using the following command:
git push
This is somewhat equivalent to the Source Control operation of “syncing”