Your First Pull Request
Purpose
The pull request is a mechanism for integrating changes between two copies of
the same repository. It is not an inherent process builtin to git, but rather
a formal or informal process built on top of git. In this section we’ll
briefly exam the usage of the GitHub pull request system.
Fork the Repo
A pull request is a request to incorporate changes made on one copy of a repo, into another copy of the same repo. So to start we will need to make a copy to perform changes on. In the case of the design notebooks, the repo to fork is the one that contains the site you’re reading right now.
To understand why you should work on forks, read the next guide - Working Collaboratively.
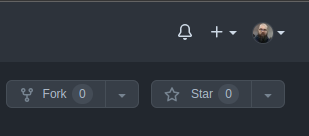
To create a fork, you need only click the fork button at the top right of the page:
We can now clone the fork as usual.
Branching
Before we start making changes, we probably want to branch the repo. This way we don’t mess with the commit history of the “main” branch, so it will be easy to incorporate changes that happen in the main repo we forked from.
To create a branch we can use the following command:
git branch -c branch_name
Then to switch to the branch we can use:
git switch branch_name
These two operations are so common, that there is a shortcut to do them in a single command:
git switch -c branch_name
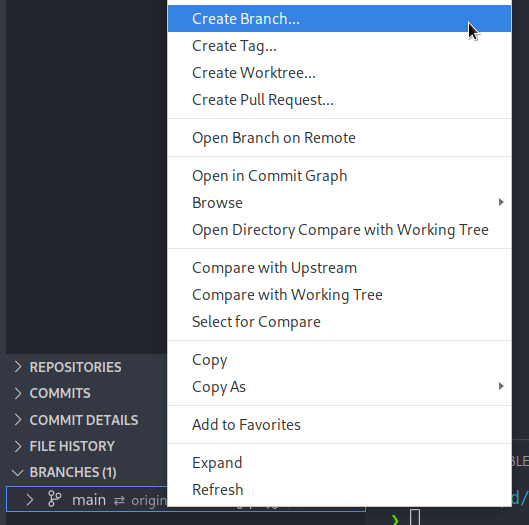
The same behavior can be found in Source Control by right clicking on a branch you would like to branch from:
Publishing Changes
After you have added your commits to the branch, you can publish the results to Github with the following commands:
git push [remote_name] [branch_name]
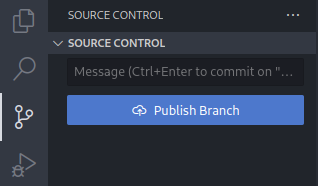
This is equivalent to the Source Control “Publish Branch” button:
Making a Pull Request
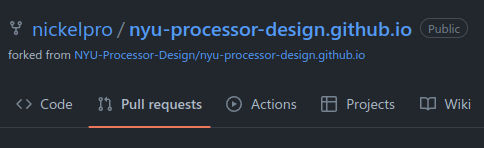
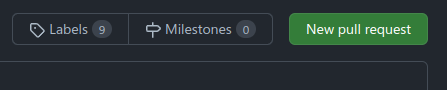
To make a pull request, navigate to the “Pull requests” tab of your repo:
And click “New pull request”:
Use the drop-down menu on the right to select the correct branch you would like to pull from:
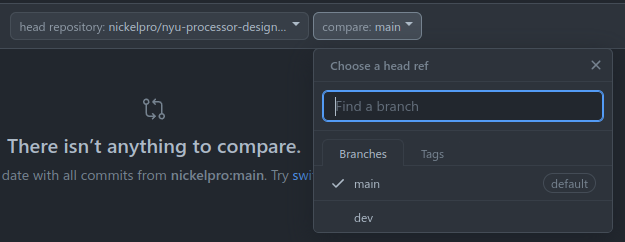
Now create the pull request.
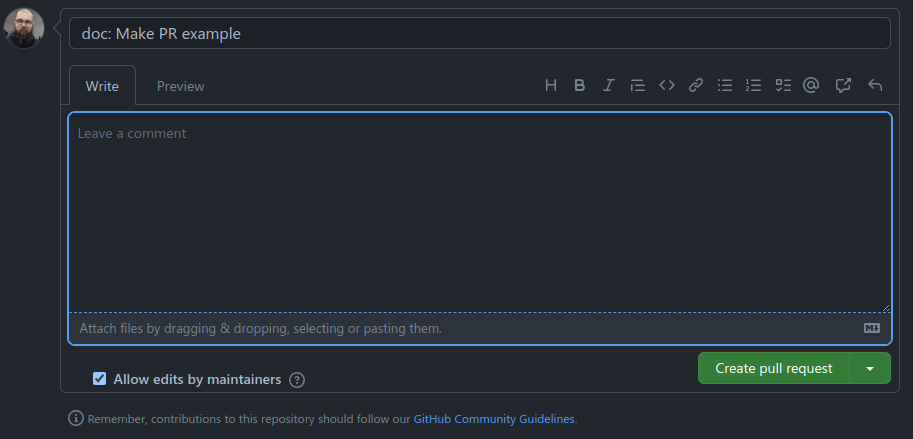
For the following dialogue, it’s fine the leave the title as whatever is generated for the commit. In the comments field, include any information that might be pertinent but isn’t included in the commit itself.
Discarding the Branch
Once your PR has been merged into the “upstream” repository, it is safe to delete the branch you did the work on.
You can do this with:
git switch main
git branch -D branch_name
git push origin -d branch_name
The first command switches off of the development branch, because you cannot delete a branch that is currently checked-out. The second command deletes the local copy of the branch, and the third command deletes the remote copy.
The deletions are equivalent to right clicking and selecting “Delete branch” in Source Control.
Integrating Upstream Changes
You can now pull the upstream changes into your repo, this can be done with
git pull [remote] [branch]